Aluminum extruded shapes and aluminum tubing are designed in a limitless number of geometries. The manufacturing tolerances can vary a great deal to support the specific needs of the designer.. Some designs require tolerances in tenths of an inch (0.100”), others in ten thousands of an inch (0.0001”). At Profile Precision Extrusions we typically work on designs with more exacting tolerances. Our most precise measurement tool is a coordinate measuring machine (CMM). Most companies use a CMM to check finished production parts. We’ve taken it one step further and use it to qualify our extrusion tooling.
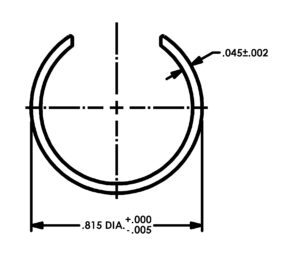
In 2016 DuPont came to us looking to develop a series of extrusions to be used in high-efficiency aircraft engines. The extrusions needed to slide into a slot in the outer portion of the engine during assembly. The initial designs were similar to the one shown here.
While challenging from an extrusion perspective, the parts can be measured using standard inspection tools such as micrometers and calipers.
Measurement Challenges
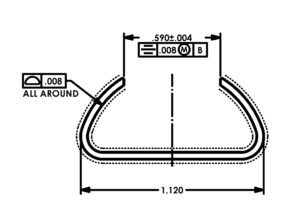
The next generation of aluminum retainer extrusions was developed utilizing GD&T dimensioning. The big challenge was the tolerance change from a lineal measurement to working within a tolerance envelope. Now rather than measuring lineal distances, we had to make sure the extrusion fit into an “envelope.” Initially, DuPont was utilizing a CMM and we used standard inspection tools to check production parts. We discovered that sometimes our measurements would differ. The “profile of a surface” (see below) dimension was most often the one that differed.
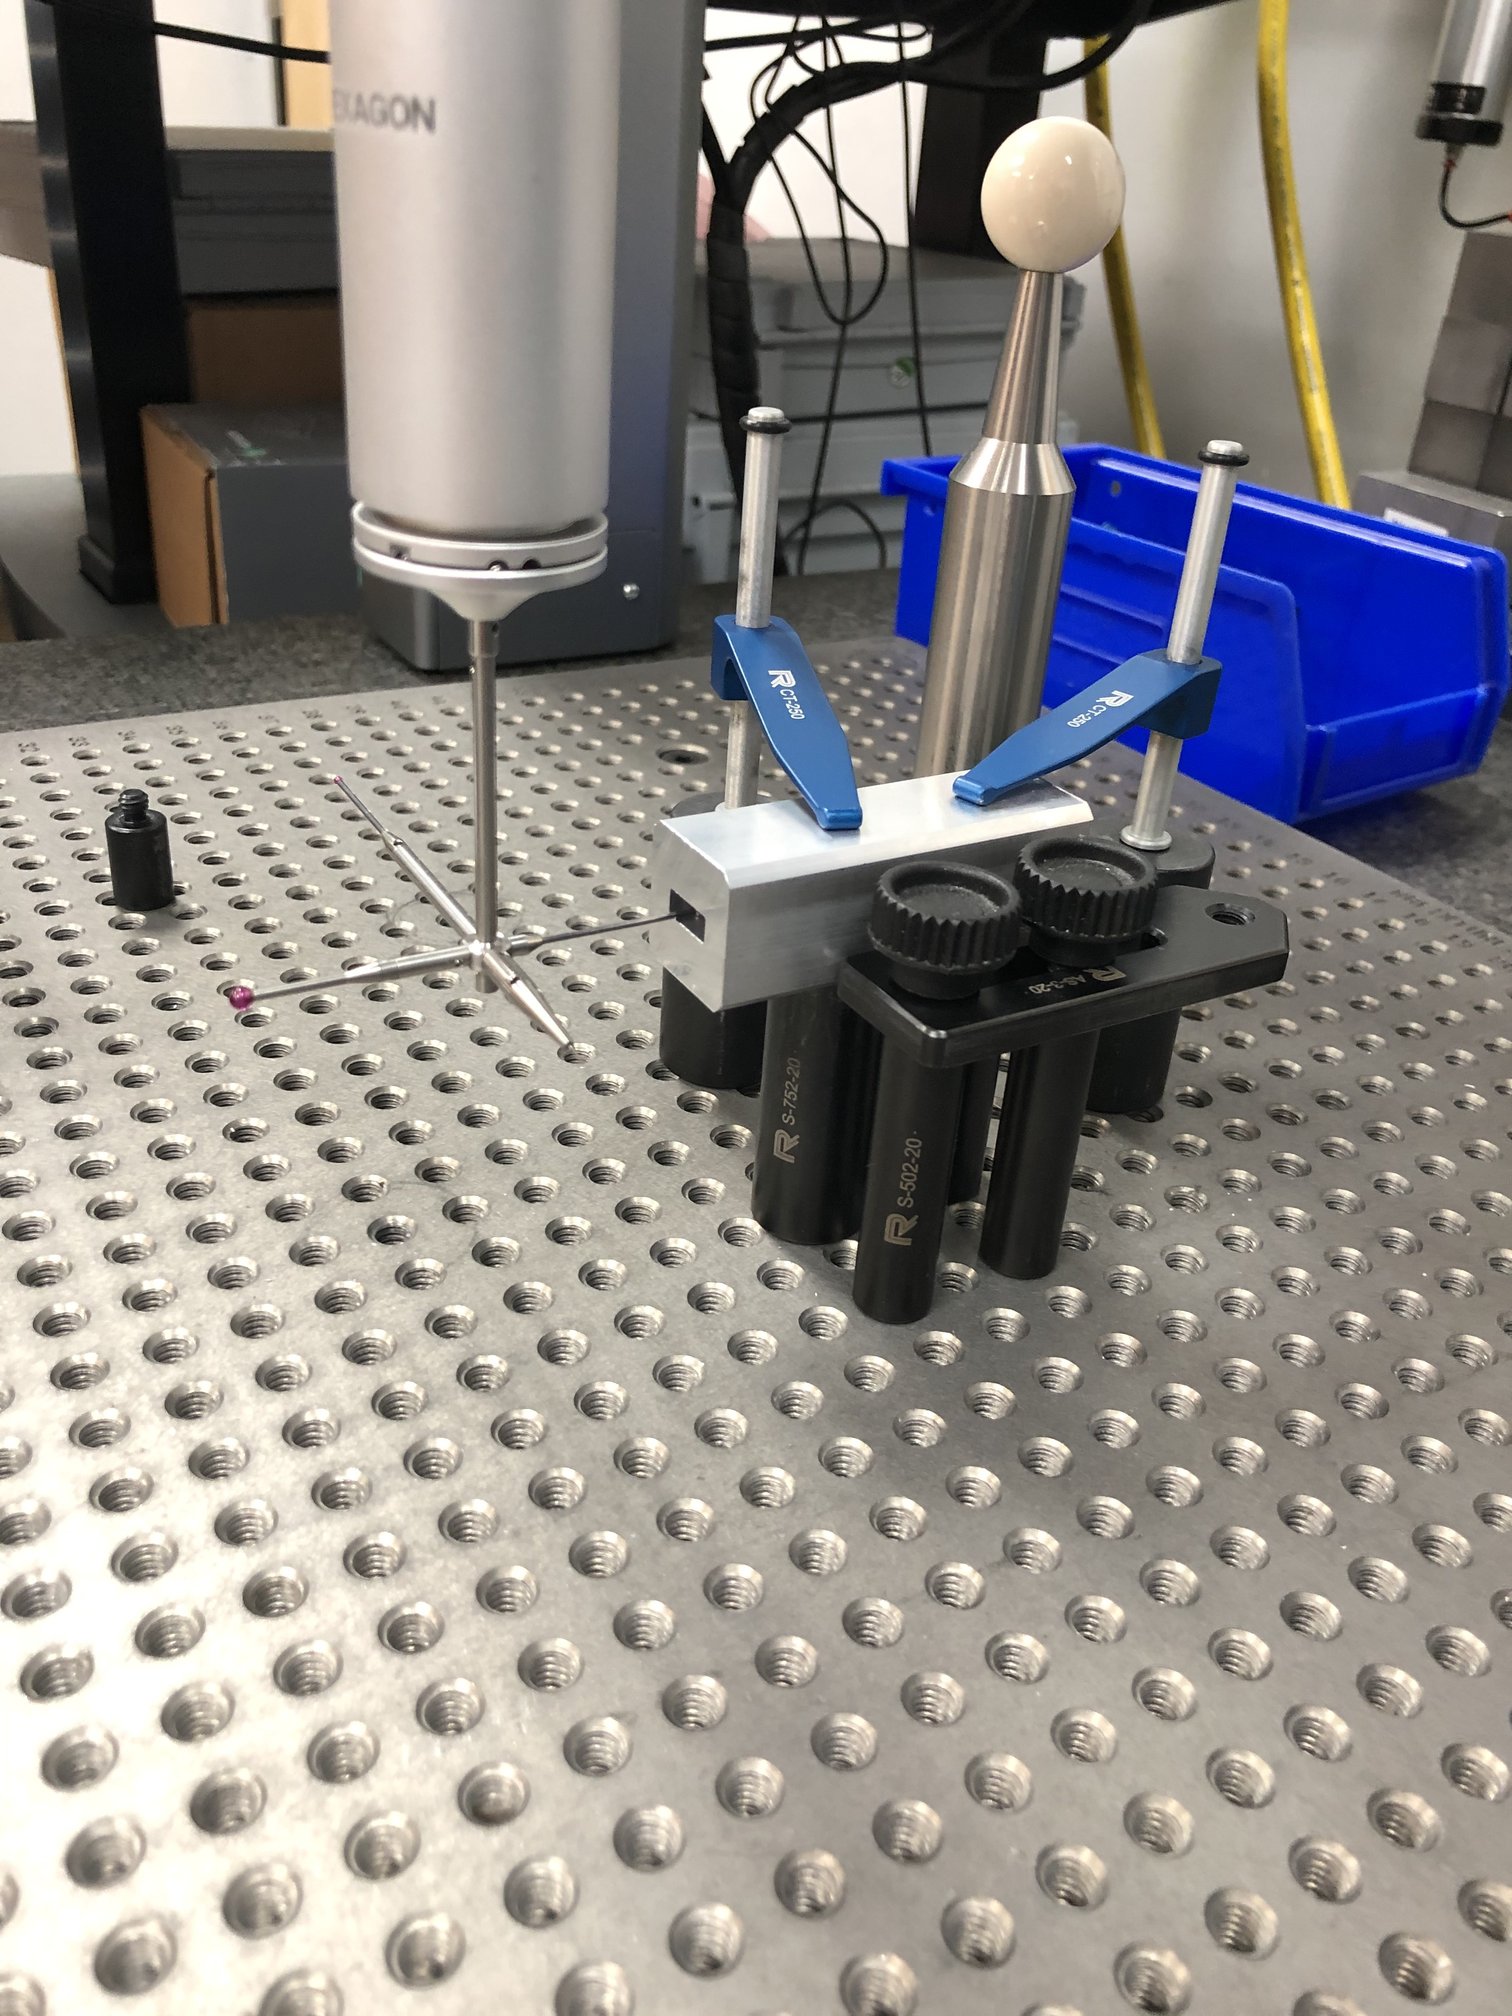
In July 2018 we decided to purchase a Hexagon CMM. DuPont was using a Hexagon CMM and it made sense for us to be using the same instrument as our customer to inspect these parts. We also duplicated some of the fixtures they were using to hold the extrusions during inspection. As a result of these changes, the quality improved to the point that no parts that were checked by the CMM were rejected at DuPont for being out of tolerance on the “profile” requirement in 2019, or so far into 2020.
How We Make High-Quality Samples
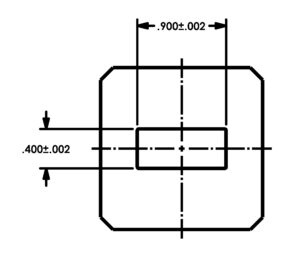
The success Profile Precision Extrusions had in 2019 on finished production parts led us to start using the CMM to “dial” in new tooling prior to production. For very challenging shapes we now produce short tooling qualification runs, measure the parts on the CMM, make modifications to the tooling, and run another trial. That sequence can repeat 3-4 times until the tool is approved. Only then do we submit samples to the customer for review. Below is an example of a telecommunications wave guide design. The ID has to be held within ±.002” across the width and height.
The CMM allows us to check multiple locations of the .400” height across the entire width of the opening. We found with this large mass section the rate of deflection, cooling, and shrinkage differed from the corners to the center of the void. For this design, we redesigned the die and put a slight convex radius on the mandrel instead of the flat surface to accommodate for deflection, cooling, and shrinkage. We probably would still be working to qualify these parts if the CMM didn’t allow us to check the exact same locations directly across from each other, precisely, and from run to run in the exact same spots.
Profile Precision Extrusions would love to help with your unique challenge! Call us today and find out how we can help you lower your overall costs, increase quality, and save time by allowing us to manage the value chain for you.
