A custom aluminum extrusion die is a one-time investment, but the production run it feeds is not. Once you commit to hundreds or thousands of parts, every undiscovered problem in the cross-section gets multiplied by the order quantity: a wall that warps, an anodized finish that comes out blotchy, a slot that binds during assembly. Prototyping exists to find those problems while they are still inexpensive to fix.
This guide covers when a prototype run is worth it, the difference between machined and extruded prototypes, how soft tooling compares to production tooling, and a short validation checklist you can run before releasing a full production order.
Why prototype at all? The hidden cost of skipping it
The argument against prototyping is always the same: it adds time and money to a project that already has a tooling bill. The argument for it is what failure looks like at volume.
If a problem surfaces after the full run, the realistic costs are die rework or a second die, a scrapped batch of material, a re-run on the press schedule, and weeks of delay. On an assembly with mating parts, an interference discovered at incoming inspection can stall an entire product launch. Against that backdrop, a prototype phase is inexpensive insurance.
Prototyping matters most when the design has thin or non-uniform walls, hollow cavities, tight tolerances on mating features, a critical surface that will be anodized, or any geometry near the edge of standard manufacturability rules. Simple, conservative solid profiles in common alloys can often go straight to a production die with only a sampling run as the checkpoint.
Machined prototypes vs. extruded prototypes
The first decision is whether you need a die at all for this stage.
Machined prototypes are CNC-machined from solid bar or plate to replicate your cross-section. They are fast (often under a week), require little tooling investment, and are perfect for checking fit, form, assembly clearances, and overall ergonomics. Their limitation is that they are not extrusions: the grain structure, surface finish, residual stresses, and straightness behavior all differ from a part that actually passed through a die. Very thin continuous walls can also be difficult or impossible to machine economically.
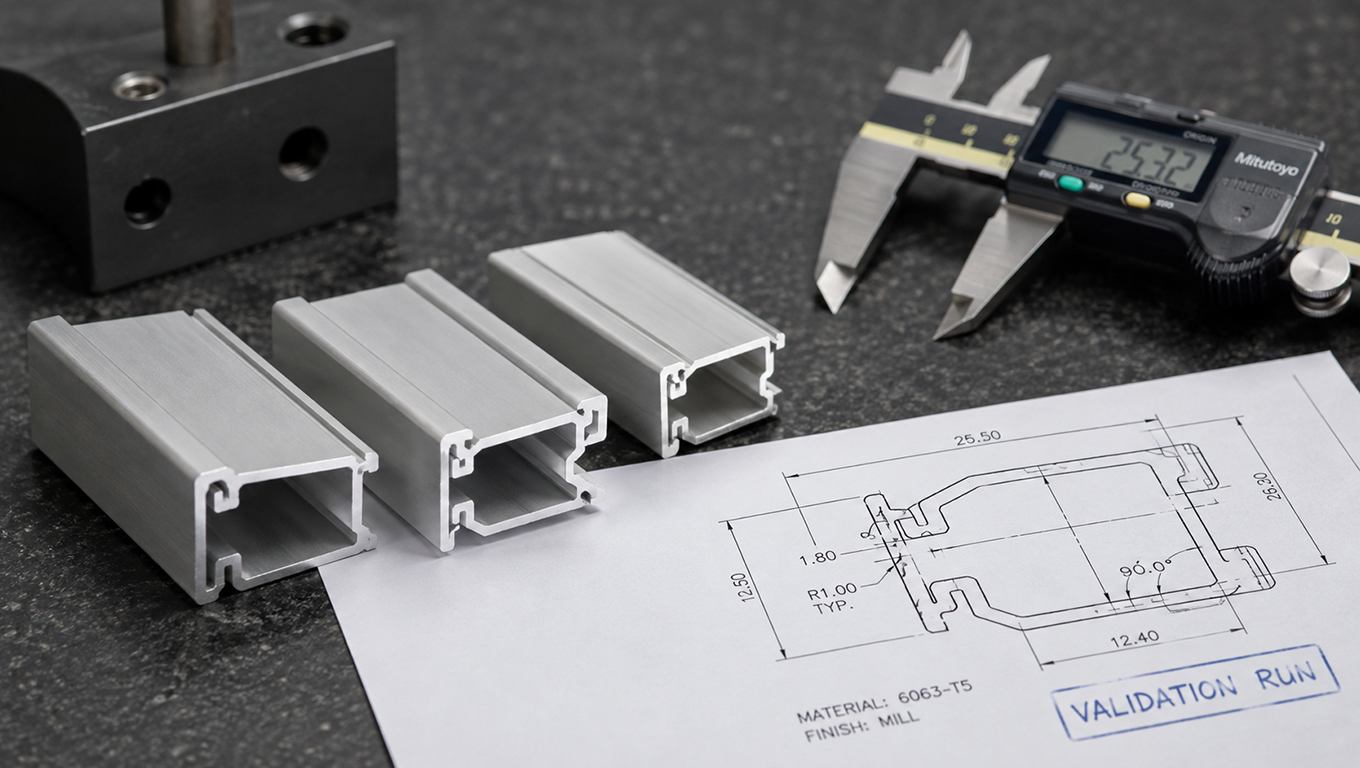
Extruded prototypes are produced on a real press through a real die, so everything you measure is representative: dimensional behavior, twist and bow, surface quality, anodizing response, and mechanical properties in the extruded temper. The cost is the die itself and a 2 to 4 week lead time.
| Factor | Machined prototype | Extruded prototype |
|---|---|---|
| Lead time | Days | 2 to 4 weeks |
| Tooling cost | Special tools fixtures & programs | Die required |
| Validates fit and assembly | Yes | Yes |
| Validates extrusion behavior (warp, twist, die lines) | No | Yes |
| Validates anodizing and finish response | Partially | Yes |
| Representative grain structure and properties | No | Yes |
| Best for | Early design iterations | Early designs and pre-production sign-off |
What to validate before releasing the full order
Treat the prototype or sampling run as a formal gate, not a box-ticking exercise. The checklist below covers the failure modes that most often surface at volume.
- Dimensional capability: measure all critical dimensions across multiple lengths and positions along the extrusion, not just one sample. Look at the spread, not just the average.
- Straightness, twist, and bow: verify over the full delivered length, especially for thin-wall and asymmetric profiles.
- Surface quality: inspect for die lines, pickup, and marking on cosmetic faces under the lighting your customer will use.
- Finish response: anodize or coat actual prototype parts. Alloy, temper, and surface condition all change the final appearance.
- Secondary operations: run prototypes through real machining, drilling, and forming steps to confirm fixturing and tolerances stack correctly.
- Assembly fit: build at least one full assembly with mating parts at both ends of their tolerance ranges if possible.
- First-article documentation: capture an inspection report against the drawing so production parts have a formal baseline.
Where prototyping fits in the project budget
Prototype costs are small relative to what they protect. A machined prototype for a typical small profile runs a few hundred dollars. A production die with a prototype run minimizes your spend in the tool you needed anyway. The production order those steps protect is usually an order of magnitude larger, before counting the cost of schedule slip on the product the extrusion goes into.
Tooling itself is the other half of this budget conversation; for a breakdown of what drives die cost and how to manage it, see “what drives aluminum extrusion tooling costs”.